As blog titles go, this one is not likely to win the prize for 'succinct clarity'. Actually it could, provided readers already knew what a Cthulhuoid was, what its carapax was, and why you would want to paint said carapax. To make matters worse, there formally never was a 'Digitally painting Furahan lifeforms I'. But
one earlier post would in retrospect deserve that title.
What does the title mean? Well, the word 'Cthulhoid' describes a clade of marine Furahan animals that do not seem to be able to make up their minds whether they should be pelagic of benthic ('pelagic' refers to the 'just water' part of a sea or lake, not close to the bottom nor to a shore, while 'benthic' refers to the bottom of a sea or lake). Some Cthulhuoids use the tentacles close to their face -hence the name- to move around on the bottom or even create their own hiding places, while others use their fins to propel themselves through the sea. A 'carapax' (a term I prefer over 'carapace') is an animal's armour, say its shell. The cthulhuoid carapax covers the head and usually part of the back. Finally, why would you want to paint one? You, the reader, might in fact not want to do this at all, but I wanted to, to create an image for The Book.
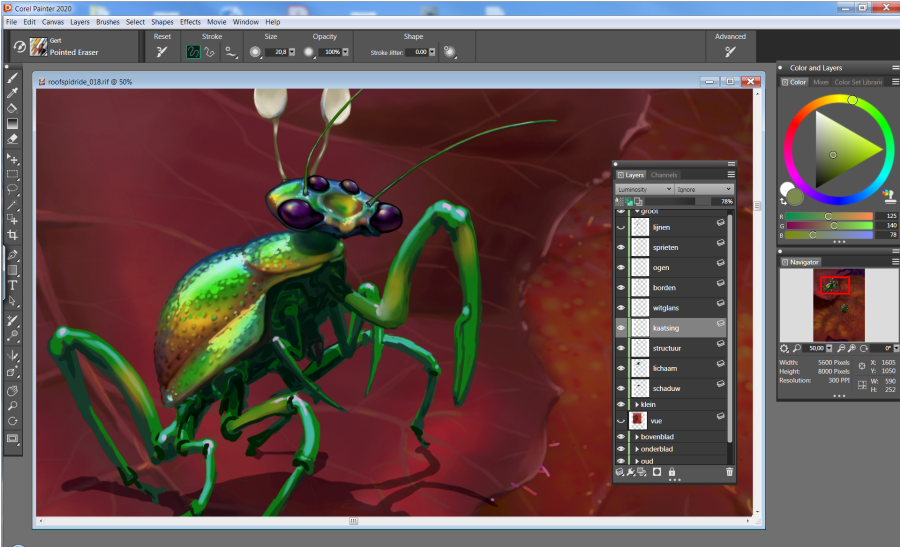
I am not going to spoil The Book by showing major paintings here or anywhere else, but I can make an exception for part of a minor illustration. The illustration in question shows a few examples of the riotous array of colours and structures of cthulhuoid carapaces. The problem with 'riotous' colours, in stripes and spots, is that every spot must be painted in the correct shade for where it is on the object, and that includes different shades within each stripe or spot. With oil paints this proved to be a painstaking job, requiring small pointy brushes, a very steady hand and lots of patience. Digital painting has made painting such complicated objects much easier, as I will illustrate here. I will assume some familiarity with 'layers' (in digital painting, a layer is like a sheet of glass: what you paint on it covers things on underlying layers, but parts unpainted on a layer let you see underlying layers. You can paint on a layer under another layer. I use Corel Painter because it can mimic real brushes quite well.
 |
| Click to enlarge; copyright Gert van Dijk |
Let's start with a suitable carapax shape. I modelled one in Vue Infinite and made a simple render in which the 3D shape is overlaid with simple lines that define contours of the shape. These help get the perspective right, in a fraction of the time that a conventional perspective construction would require. On a separate layer I drew lines with a 'brown pencil' to outline some interesting spots, aided by the lines that help keep the 3D shape in mind, and also help ensure symmetry.
 |
| Click to enlarge; copyright Gert van Dijk |
The next stage uses a layer under the brown pencil one. This new layer contains the basic colour of the beast, which in this case means dark blue sides with a lighter colour down the middle. Note that I made absolutely no effort to represent shading here: the colours are supposed to be completely flat.
 |
| Click to enlarge; copyright Gert van Dijk |
I then added another layer, again just under the pencil layer. On that one I painted the spots an even deep yellow colour, to contrast with the blue underpainting. Again, this is completely flat. Note that the result contain three layers: the pencil lines, the yellow spots and the blue basic colour. We will leave these layers for now and hide them from view.
 |
| Click to enlarge; copyright Gert van Dijk |
Using the same Vue render as before I then painted the carapax again, but this time without colour, using just shades of grey to convey a sense of depth as well as a surface texture with same plates on it. I rather like the way the shininess turned out: the surface is shiny, but more like a pearl than like chrome. The shininess should allow the colours to remain well visible.
 |
| Click to enlarge; copyright Gert van Dijk |
The trick now is to combine the flat colours with the grey layer defining the shape. There are at least two ways to do this. In the one shown above, the grey 3D layer changes the aspect of the solid colours below. There are many ways in Corel Painter or in Photoshop of making one layer affect an underlying one. It is often hard to predict what they do as their names often make limited sense. The result shown above was obtained by applying the grey '3D' layer to the underlying flat colours as 'hard light'. Not bad, is it? You may note that part of the 3D structure indicated by the grey layer is obscured by the strong colours. That is very often the case with strongly contrasting patterns.
 |
| Click to enlarge; copyright Gert van Dijk |
This particular image is based on the opposite approach: the grey 3D layer was used as the underlying basis and the colour layers were moved on top of it, where they affected the grey layer through an option labelled 'colorize'. As you can see the result is not the same, which is part of the fun of digital painting: there are new options to discover daily. Of course, it may be better to stop discovering them and get to work at some point, or you will never get any work done.
 |
| Click to enlarge; copyright Gert van Dijk |
Finally, I went back to the earlier version and decided to change the colours on the flat colour layers, which only takes an instant. The blue basic colour became solid yellow, and the yellow spots turned black. The grey layer is again used to provide a 3D aspect to the carapax, but this time I turned down the 'hard light' effect so the highlights are less conspicuous. I then added two shiny spots with fairly sharp edges to get a surface effect like porcelain. On yet another layer I painted flat white regions at the edges of the carapax. These were then made almost entirely transparent to represent reflections of lighter objects in the vicinity. I present this version here to show that separating colour and structure allows for some quick experiments. It is not the way I paint most often though: usually I paint shadows directly, using appropriate colours.
To paint other shells I did not use this method, as I thought that using the same outline every time would make the result boring. Instead, I designed and painted a new shell from scratch each time.
And there you are; a painted cthulhuoid carapax. The illustration should end up as probably about two by two cm, so it will be small. This particular carapax belongs to the species Myrmillo testudiformis, or in common speech the 'turtleback snigel'. Such shells are collector's items, by the way.